
Making Incense Cones From Your Apothecary

Updated: 2 days ago

One of my favorite things about making my own incense is that I can reach into my apothecary and create something with ingredients I already have on hand.
Cinnamon, nutmeg, clove, and marshmallow root may be familiar ingredients in an herbal apothecary, but they can also be combined to create a beautifully aromatic incense cone.
There is something especially satisfying about taking simple powdered botanicals, adding a little honey and water, and turning them into something you can burn as part of a quiet evening, meditation, or intentional moment.
This is herbalism from another perspective: working with plants through scent, texture, preparation, and experience.

Ingredients
● 3 teaspoons ground cinnamon
● 1½ teaspoons ground nutmeg
● 1½ teaspoons ground cloves
● 1 teaspoon marshmallow root powder
● 1 teaspoon honey
● 1 tablespoon water
Equipment
● Mixing bowl
● Spoon
● Mortar and pestle or dedicated coffee/spice grinder
● Small piping cone or mold
● Toothpick
● Airtight storage container

Preparing the Incense Mixture
Add the cinnamon and nutmeg to a bowl and stir to combine.
If you’re starting with whole cloves, grind them using a mortar and pestle or a grinder dedicated to spices. Measure 1½ teaspoons of the ground cloves and add them to the bowl.
Add the marshmallow root and mix everything together.
Slowly add the water while stirring. You may not need to add it all at once, so add it gradually until the mixture begins to come together.
Finally, add the honey and combine everything thoroughly.
The finished mixture should be moist enough to hold together when pressed, but not wet or sticky.
Shaping the Cones
For a uniform shape, I like using a small piping cone or mold.
Pack the incense mixture firmly into the cone. A flat interior makes this much easier. If your mold has ridges or grooves, the finished cone can be more difficult to remove.
Using a toothpick, make a small hole through the center of the mixture. This allows air to move through the cone and can help it burn more consistently.
Tap the filled piping cone firmly against a flat surface several times to help loosen the mixture from the sides.
Then use the toothpick to gently push the incense cone out of the mold.
Repeat until you’ve used all of the mixture.
You can also shape the cones by hand. Hand-formed cones will usually be smaller or less uniform, but there’s no need for them to be perfect.
Drying the Cones
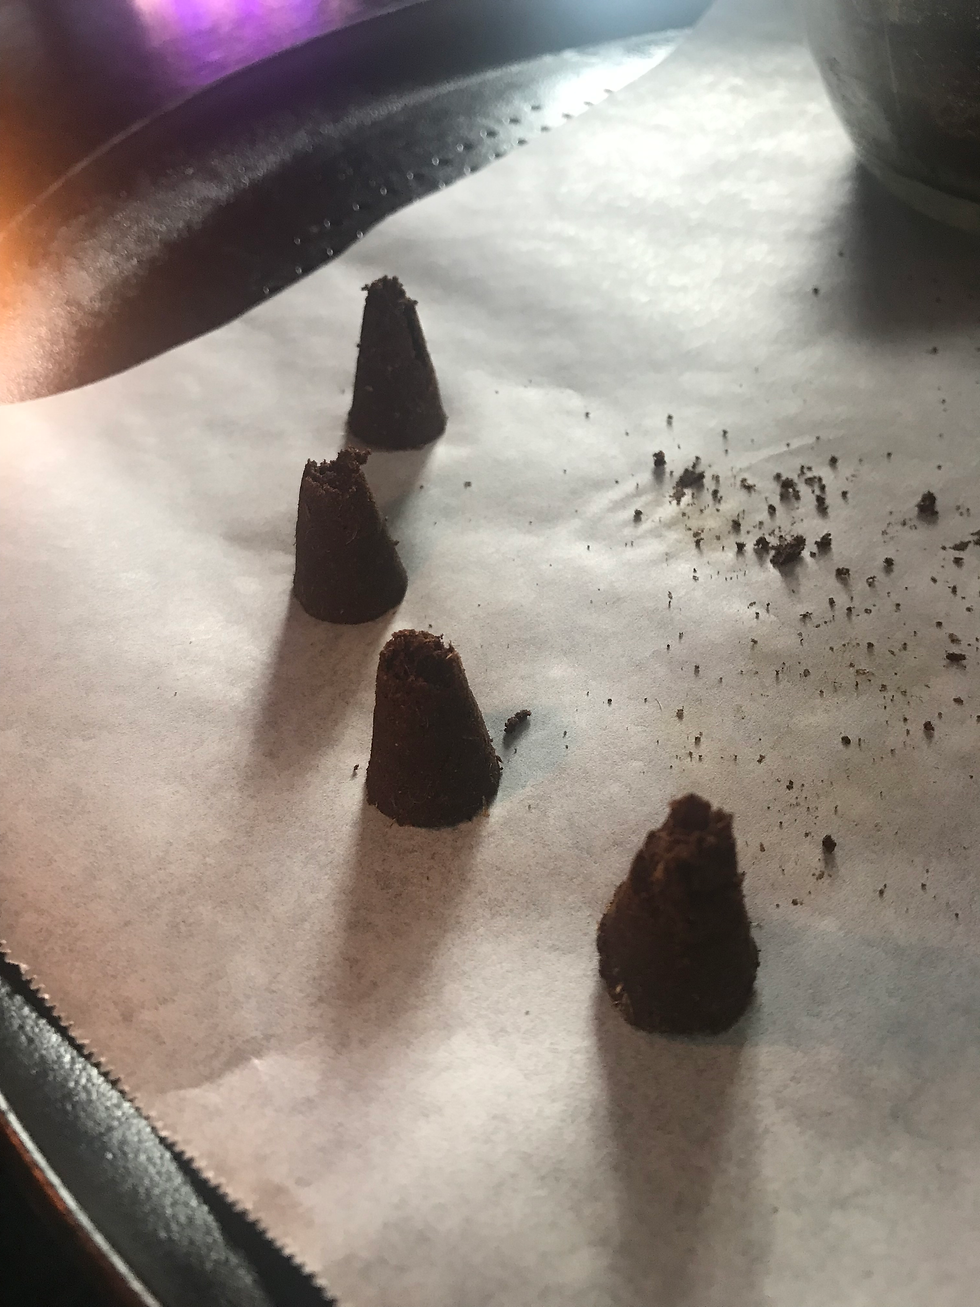
Place the finished cones on a dry, well-ventilated surface where they can completely dry.
Allow them to dry for at least two days, turning them occasionally so that all sides can dry evenly. Larger cones or humid conditions may require additional drying time. The cones need to be completely dry before burning. Any remaining moisture can make them difficult to light or cause them to burn poorly.
Once completely dry, transfer them to an airtight container for storage.
Keeping them sealed helps protect them from moisture, which can cause the cones to soften and burn poorly.
From Apothecary to Incense
This is one of my favorite kinds of herbal preparation because it doesn’t require a complicated process or unusual ingredients. You can open your apothecary, pull out a few familiar botanicals, and create something completely different from a tea, tincture, infused oil, or salve. It also gives you another opportunity to get to know your plants.
How does cinnamon smell before it is burned compared with afterward? How does clove change the aroma of the blend? What does marshmallow root contribute to the texture? How does the finished incense smell as it dries?
These observations can become part of your materia medica. Your materia medica doesn’t have to exist only on the pages of a notebook. It can grow through the things you make, the plants you work with, and the observations you collect along the way.
A Note About Burning Botanical Incense
Burn incense in a well-ventilated space and always use an appropriate heat-resistant incense holder placed on a stable, nonflammable surface.
Never leave burning incense unattended, and keep it away from children, pets, curtains, paper, and other flammable materials.
If smoke bothers you or you have sensitivities to fragrances or smoke, skip burning the cones and simply enjoy the dried botanical aroma.


Comments